How to use the interface menu to change your working environment more conveniently
There are many different video editing programs available, but the most commonly used one is probably Premiere Pro CC. Most programs have similar interfaces, but it is difficult to make drastic changes to other programs.
On the other hand, Premiere Pro has the advantage of being flexible enough to adapt to the user’s environment. It is easy to use while allowing the user to manipulate it directly.
The monitor size is often inconvenient, but I think there are some people who just use it. I hope that the workspace I will introduce today will help you edit videos more conveniently. – See the official description of the Premiere Pro interface
An interface is a boundary or point of contact that allows interaction between two or more systems, devices, or software. This may include interaction between a user and a computer, and may be accomplished through various protocols or data formats.
The interface plays a vital role in helping users understand and operate the system, and must be intuitive and easy to use to perform efficient tasks.
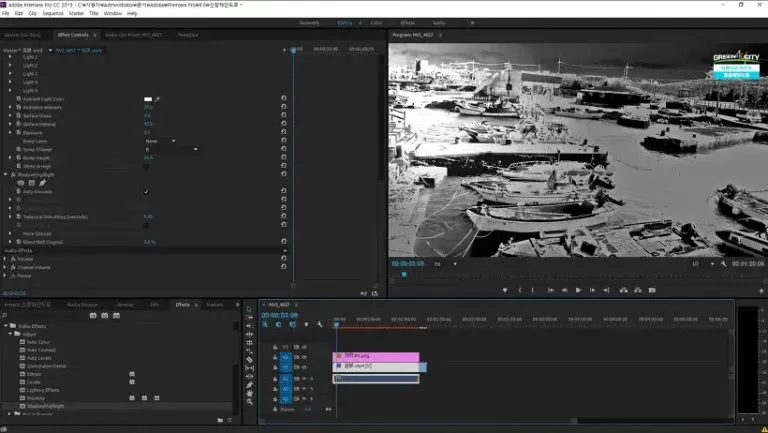
First, let me introduce the default screen. On the left is the effect window, and on the right is the preview monitor. This is similar to the interface of other programs. However, this configuration can sometimes be inconvenient. Especially when the number of layers in the timeline increases, there are situations where you need to reduce the size of the preview monitor.
Because of this part, I remember feeling uncomfortable in the past and looking for ways to change the interface.
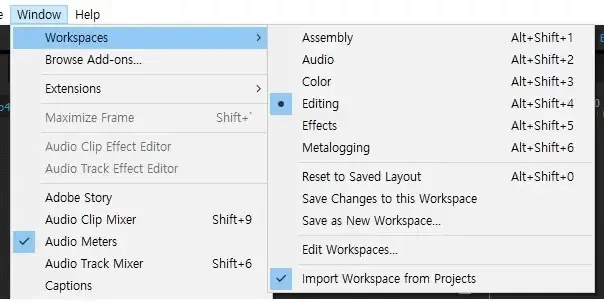

First, for previous versions, you can change the workspace of Windows from the menu or adjust it through the shortcut keys shown in the screen above. However, for Premiere Pro CC, there is an option to select different types at the top of the workspace.
You can click on it and change it as you work. I really like that. Now let’s take a look at what each type looks like.
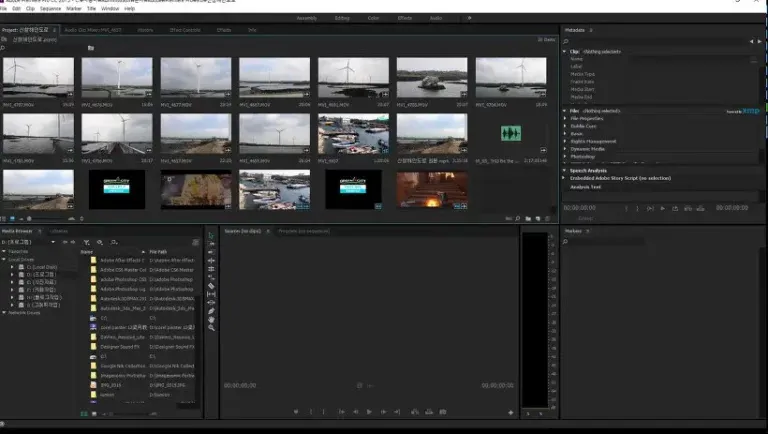
First, let me explain Metalogging. If you look at the screen above, you will understand what Metalogging is. This is a space where you can easily check the imported videos. It can also be said to be an interface that can be conveniently used with various specifications when importing videos.
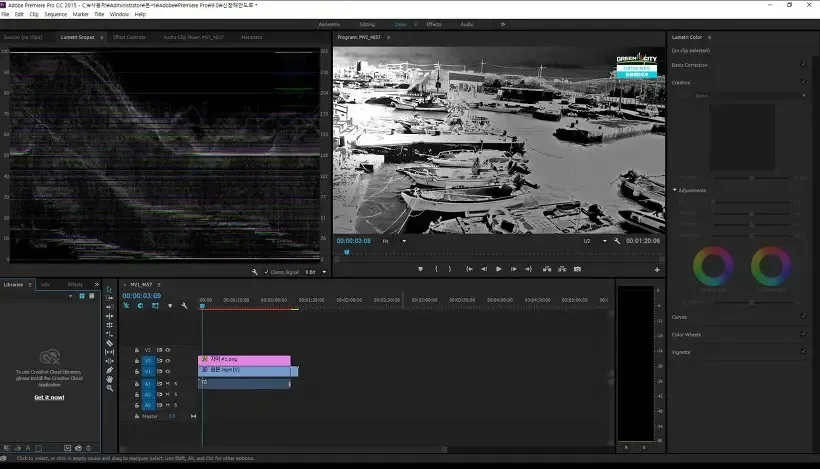
Next is the part about color adjustment. When you click on this item, a graph about color will appear next to it, and on the right side, you will see options for adjusting various color values. This mode will be more convenient when correcting the color of the video.
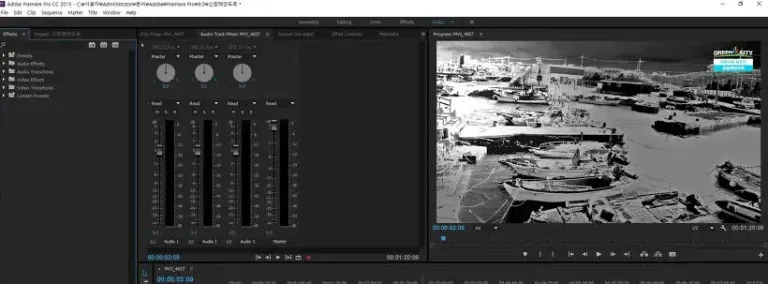
Here’s the thing about audio. Audio is a very important element in a video. If the volume of a certain part is too loud, you need to reduce it, and this is where you can conveniently make this adjustment.
I understand that the noise removal function has been improved over the previous version. Since I don’t work with volume adjustment in Premiere, I will try adjusting it later and write an article.
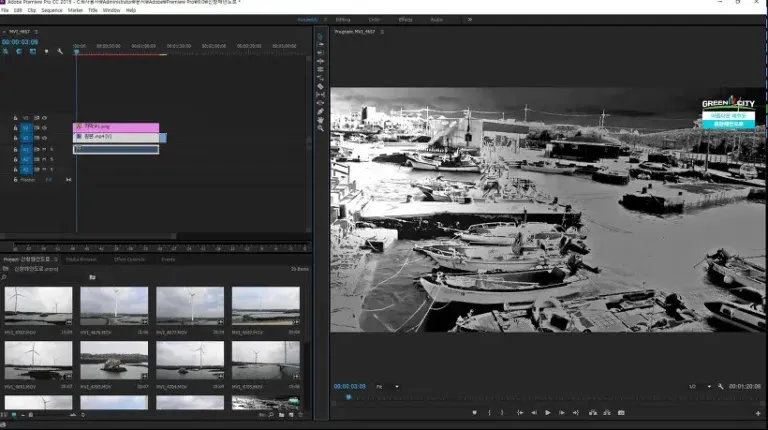
This is the Assembly I use most often. It is a mode that can solve the inconveniences that the layers mentioned above are stacked up in a really convenient way. You can see the layout changing left and right without many additional windows. This is the most convenient way for me to edit.
The advantage of this is that if you have dual monitors, you can set Premiere Pro CC to window mode and stretch the screen so that your preview monitor is output on the second monitor. This makes working much more convenient and is even more useful because you can see the results on a larger screen.
Since you can move the interface by dragging it with the mouse, if you feel uncomfortable using the default settings, we recommend changing to a more convenient working environment through the workspace.
▶ PicPick program – How to capture screen for free
▶ An extension that makes it easy to zoom in and out on YouTube
▶ Screen capture – How to use Windows’ basic function ‘Windows Ink’